
I wasn't planning on sharing this little DIY on a blogpost, until halfway through doing the little make over. I found myself digging through my craft supplies to find all the bits and pieces I would need to get her looking a little more put together, and thought that this might be worth sharing, for the crafty side but also the history/tradition side.
It's a family tradition, fairly new (I'll be the third generation in my family to have one of these fairies on my Christmas tree), but definitely something that I'll be carrying on with my children. My mum got my Nan's fairy, and used it for a few years, until she found a couple more on eBay. She bought them so me and my brother could each have one for our Christmas decoration box (we got a Christmas decoration each year from when we were born, until we were adults), and also so she could keep my Nan's one in good nick.

This little fairy is from roughly around the 60's, (possibly came about somewhen in the 50's though?)
I wish I'd taken some photo's of her before I started her little make over, but like I said, I wasn't planning to write a blogpost, it was a spur of the moment sort of decision! I did find some photo's on eBay though, of how she looked before I got my paints out.
Firstly I gave her a bit of a clean up, she had brown stains from the very old glue that was used by the last person who did a little DIY on her. I tested my nail varnish remover on a small section of her torso first, to make sure it wouldn't ruin anything, and if it did then it'd be somewhere hidden. Luckily it worked fine and I got the brown glue stain off her arm.

As you can see, the original face is slightly terrifying. Mine was actually a little more terrifying because her eyes were looking in two completely different directions, and she looked like her lips were bleeding, because the red didn't cover all her lips.
This was a pretty easy fix, I just used my acrylic paint to give her a more inviting face.
I debated painting her eyebrows and hair but chose to leave this as I didn't want to make her too 'modern' looking.

Once her face had dried, I added some silver gems on her head. She did originally have a strip of tinsel, but over the years this had become bald, and she was left with another brown glue stain on her head. I got the worst off with nail varnish remover, but you can still see a bit through the gems.
I stuck them on with a bit of E600 glue. I decided to go for gems instead of tinsel again, because they will last longer, but also they matched netting I had for her skirt, really well!

Her skirt and dress was made using some white crepe paper, netting, and elastic. The original fairy had an elastic band holding her skirt on I think, but I went for some elastic because that's all I had.
The skirt was very simple to make (though I don't know how easy it will be to explain!). I took a strip of crepe paper, long enough to go around her waist a few times, and also double the height to cover her toes. I folded this in half length ways, over some elastic, and kind of scrunched it round her waist. I then tied the elastic at the back, and used a bit of pritt stick glue to close the gap in the crepe paper.
Then I did the same sort of process with the netting, and layered it over the top of the crepe paper. It's simple but fiddly!

The top section of her dress was made by another bit of crepe paper, I folded the top section over a bit of elastic, and tied it around her armpits. Then I tucked the other bit into the skirt.
I'm not sure if this photo showing how it looked under the dress helps to picture my explanation at all, but you are basically making a little netting and crepe paper sandwich over some elastic.
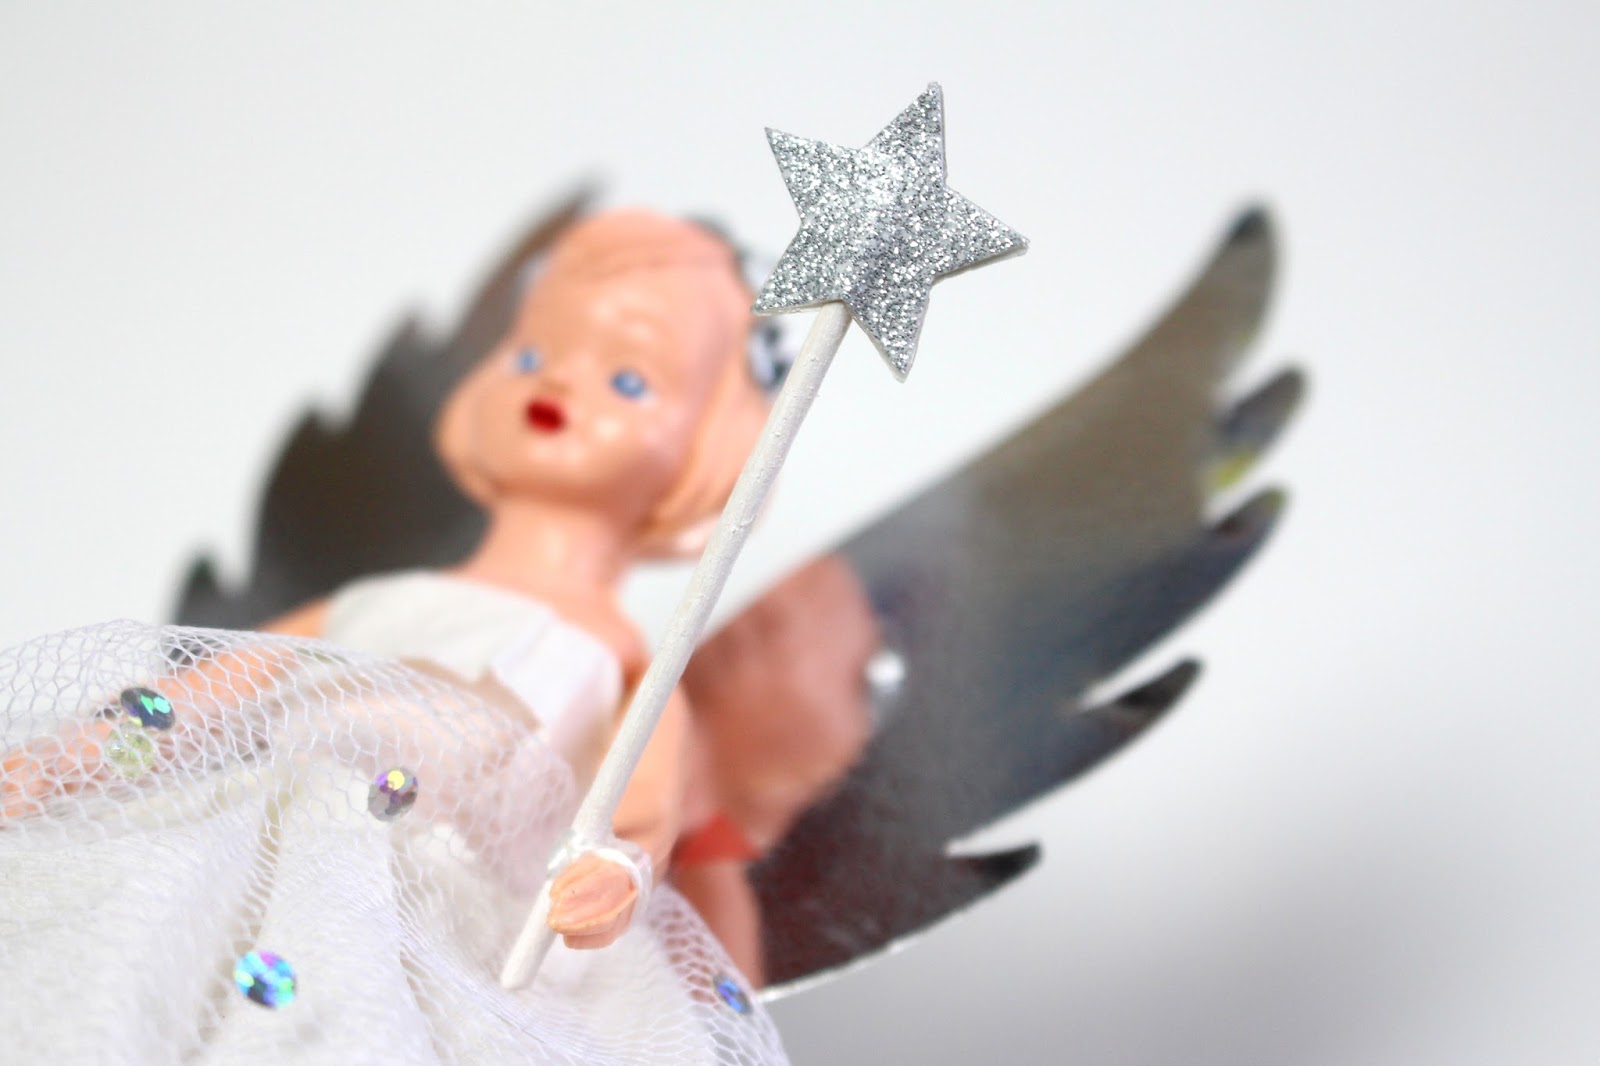
Last of all, her wings and wand! For the wings I simply used the wings she came with, as a template, and cut a new pair out of some silver mirror card. I kept the original ones though, as I think it'll be nice when I pass her down to one of my kids, to see the originals, and how they started out.
She unfortunately didn't come with her original wand. From the photo's I saw of my mum's, her wand was quite long, and the star was a lot bigger than the one I went for. But I made her wand from a cocktail stick which I painted white, and two silver glitter star stickers (from the Simply Creative range by Trimcraft!) stuck back to back. I also attached it to her hand with some more elastic.

Here's how she looks sat on my tree! I think I might make her some gold wings, wand and skirt, so she can match the red and gold on the tree a bit more. But for now I'm just really happy to have her sitting up there! Last year I didn't have enough time to get her put together, and up on the top.
Here is a photo of my mum's fairy sitting on her tree too..

The reason I'm sharing this, is I think it's a lovely way to help these vintage fairies have a new 'lease of life' so to say. There's ton's on eBay, many different styles. They may not have sat on a Christmas Tree for decades, but then someone will come along, maybe give them a bit of an up cycle and boom! A new vintage fairy, that will continue on it's job of being at the top of the tree each Christmas!
From what I've researched, and also been told, this particular style of doll, is called an 'Airfix Fairy' because they were manufactured by the same company that make model airplanes. But there's many vintage fairies on eBay, and so much you can do with them. Try searching "Vintage Christmas Fairy", or "Airfix Fairy".
Let me know if you have a vintage fairy for your tree? Or follow similar traditions!
Also if you are inspired to get on eBay, and find yourself a vintage fairy, then give it a bit of a make over, please let me know! I'd love to see photo's on how you brought it to life again.
Hope you are all having a lovely Christmas, and taking part in all your traditions, old and new!
- Daisy X
No comments:
Post a Comment